Connecting the USB Cable - PC to Tool
The method in establishing communication between the PC and tool, varies depending on the tool. Most later model tools use a USB connection.
The USB cable must be equipped with an A-Type USB connector on one end to connect to a PC. The other end of the cable, must have a Mini-b (5-pin) USB connector.
| 1. | Connect the A-Type end of the cable into the USB jack on your PC. |
| 2. | Connect the other end of the cable into the USB jack on the tool. |
|
Typical USB Cable and Connection |
|
|
|
|


| 3. | Connect and use the AC power supply to power the tool, then turn on the tool. |
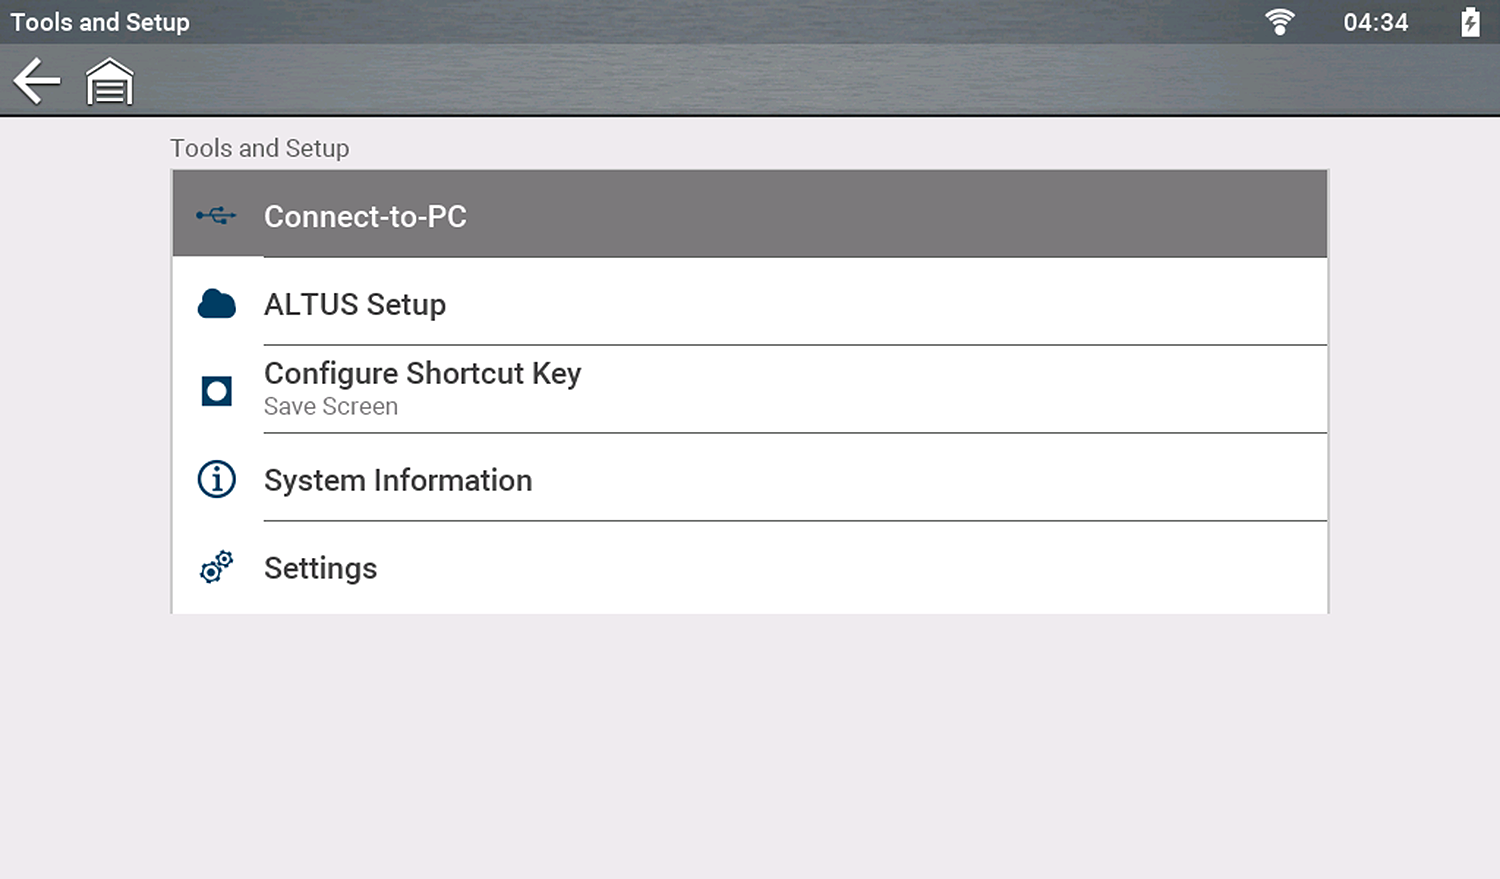
| 4. | From the Home screen on the diagnostic tool, select Tools, then select Connect-to-PC from the menu (typical screen shown below). The USB connection is automatic. |
| 5. | On the PC, start the ShopStream Connect application. |
Alternate Connection (micro SD)
If USB connection is not possible, the diagnostic tool micro SD card can be used to access files.
| 1. | With the diagnostic tool turned off, remove the micro SD card. |
| 2. | Use a micro SD card reader connected to your PC to access the files, using the SSC software. |