An automated method of capturing data is to take a Snapshot. Selecting the Snapshot icon  allows you to quickly capture and/or save a “snapshot” of data.
When selected, a screen message displays “Collecting snapshot data. Please Wait.... Select OK if enough data has been collected.”
Select OK when you have collected the amount of data needed, then another screen message displays “Snapshot data has been collected.”. Select OK to save now or Cancel to view and save later.
Selecting Cancel allows you to review the captured data using the control icons on the toolbar. To save the data, select File (upper toolbar) and make the required entries to save the data file.
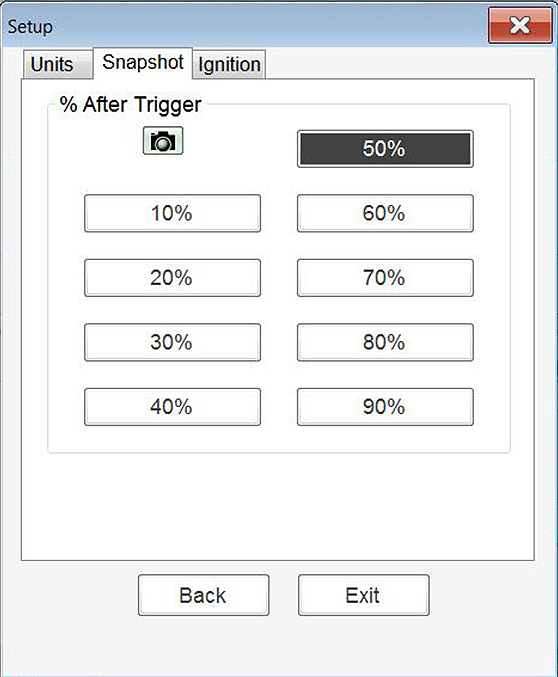
Snapshot (% after trigger options)
To set the amount of data captured after a snapshot is initiated:
| 1. | Select Setup (upper toolbar) |
| 2. | Select Setup from the menu, then select Snapshot. |
The Snapshot tab opens a menu.
| 3. | Make a (%) selection, then select Back or Exit to close the dialog box. |