System Settings
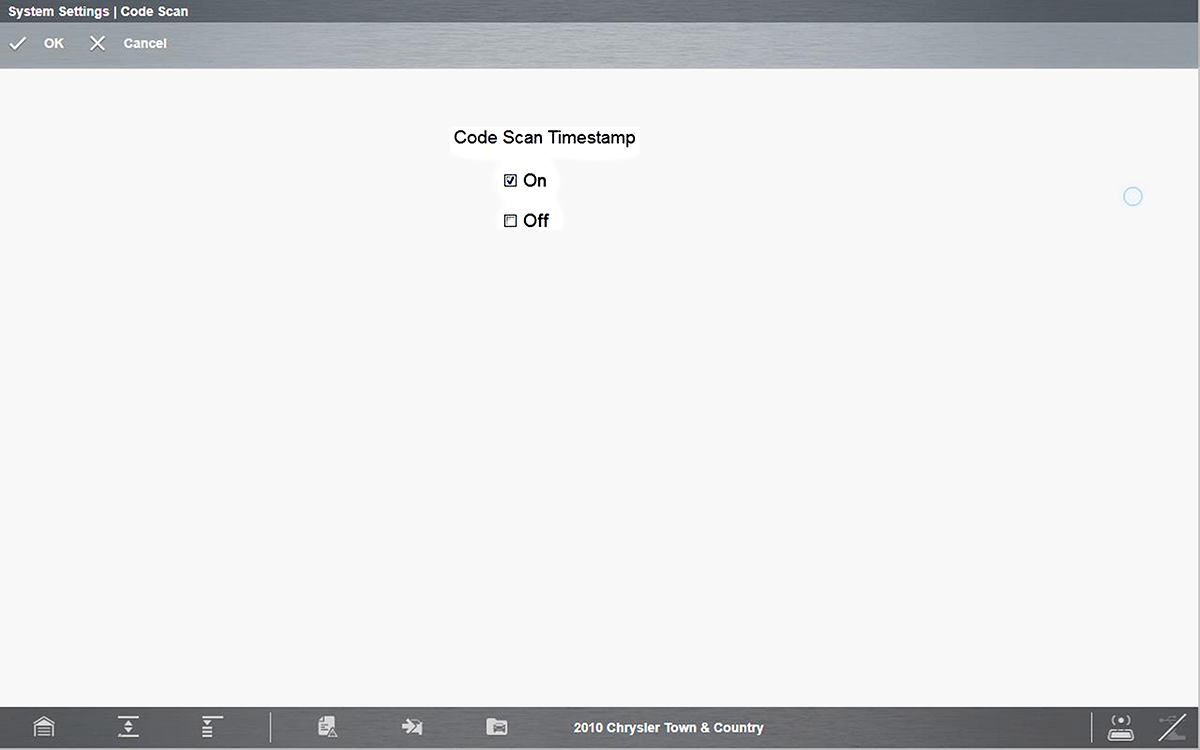
![]() The System Settings icon is located on the Home screen. This feature opens a menu of options (Paired Devices, Shop Information, Data Backup, and Code Scan) to assist you in pairing the Compact Scan Module, create and edit your shop contact information, backing up or restoring your saved data, and setting the display option for the Vehicle System Report timestamp.
The System Settings icon is located on the Home screen. This feature opens a menu of options (Paired Devices, Shop Information, Data Backup, and Code Scan) to assist you in pairing the Compact Scan Module, create and edit your shop contact information, backing up or restoring your saved data, and setting the display option for the Vehicle System Report timestamp.
= Home Screen > System Settings
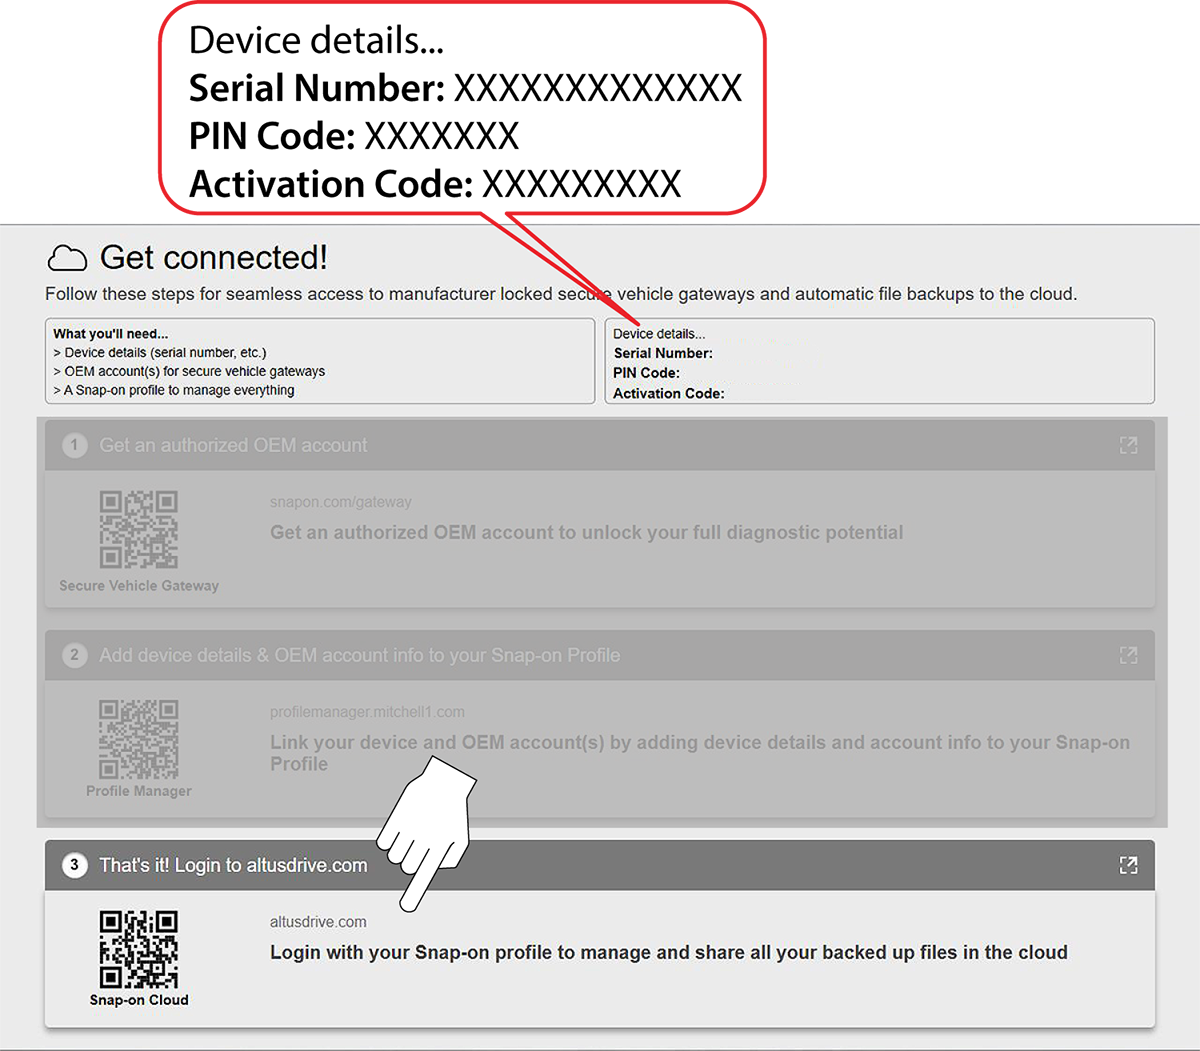
Get Connected
Paired Devices
= Home Screen > System Settings > Paired Devices
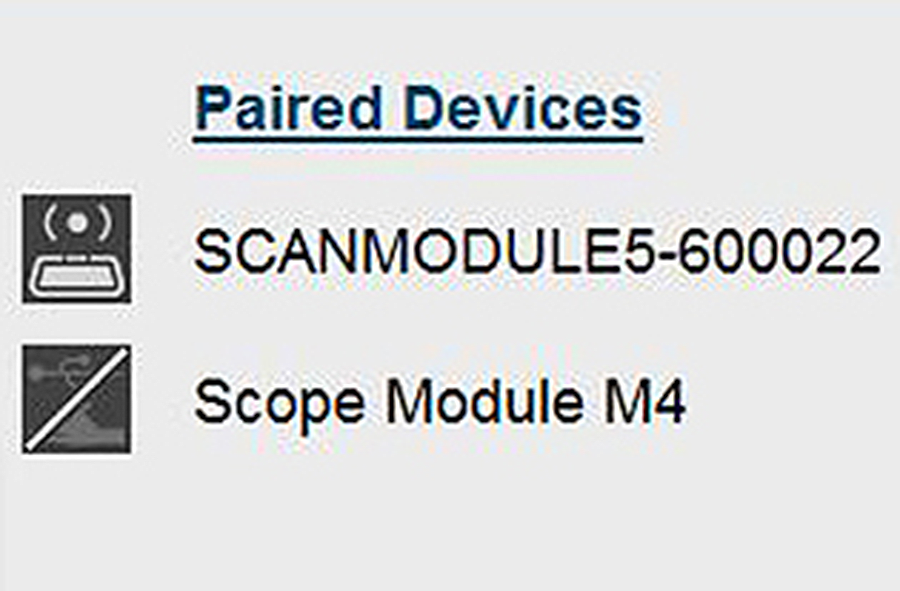
Selecting Paired Devices displays the active devices that are paired to the diagnostic tool.
To use the Compact Scan Module, and the Scope Module with the diagnostic tool they must be paired to the diagnostic tool.
| ● | For pairing information, |
The Paired Devices screen lists all of the devices paired to the diagnostic tool . The icon indicates the connection and communication status.
Shop Information
= Home Screen > System Settings > Shop Information
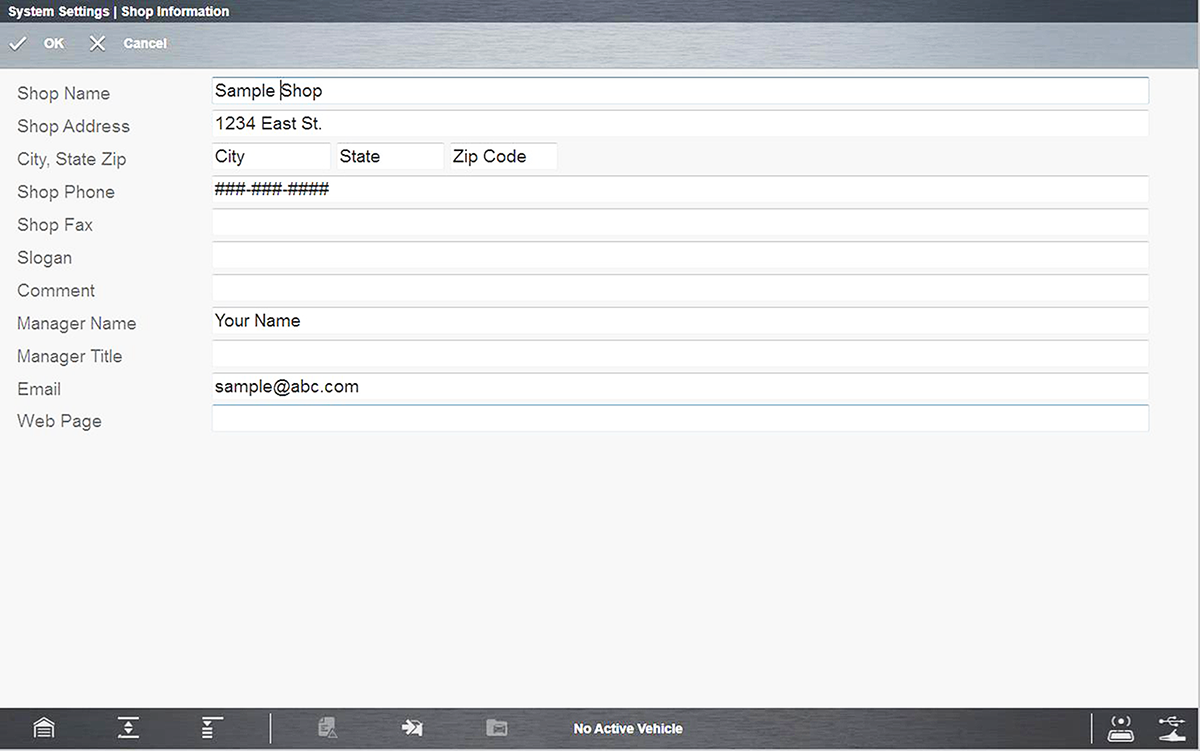
Selecting Shop Information allows you to add personalized shop information that can be included on printed data files.
| 1. | From the System Settings menu select Shop Information. |
The Shop Information entry screen displays .
| 2. | Enter your shop information, using the virtual keyboard or USB connected keyboard. |
| 3. | Select OK when finished. |
Data Backup
= Home Screen > System Settings > Data Backup
Selecting Data Backup from the Systems Settings main menu provides the following menu options:
Backup Setting allows you to choose the interval for displaying the backup reminder message, or turn the reminder off.
Message options are:
| ● | Every Week |
| ● | Every 2 Weeks |
| ● | Every 4 Weeks |
| ● | Never |
Backup allows you to back up your saved data to a designated file on the internal hard drive, or to an external drive (e.g. USB flash drive). This option can be used as general maintenance to ensure you have a safe backup of your saved data, or if an issue occurs where a system restore is necessary and you need to retain your saved data.
Only the following types of data are backed up:
| ● | ShopStream Data (saved movie/data files) |
| ● | Lab Scope Settings (presets) |
| ● | Vehicle History Records and Favorites |
| 1. | From the Home screen select System Settings. |
| 2. | From the System Settings main menu select Data Backup > Backup. |
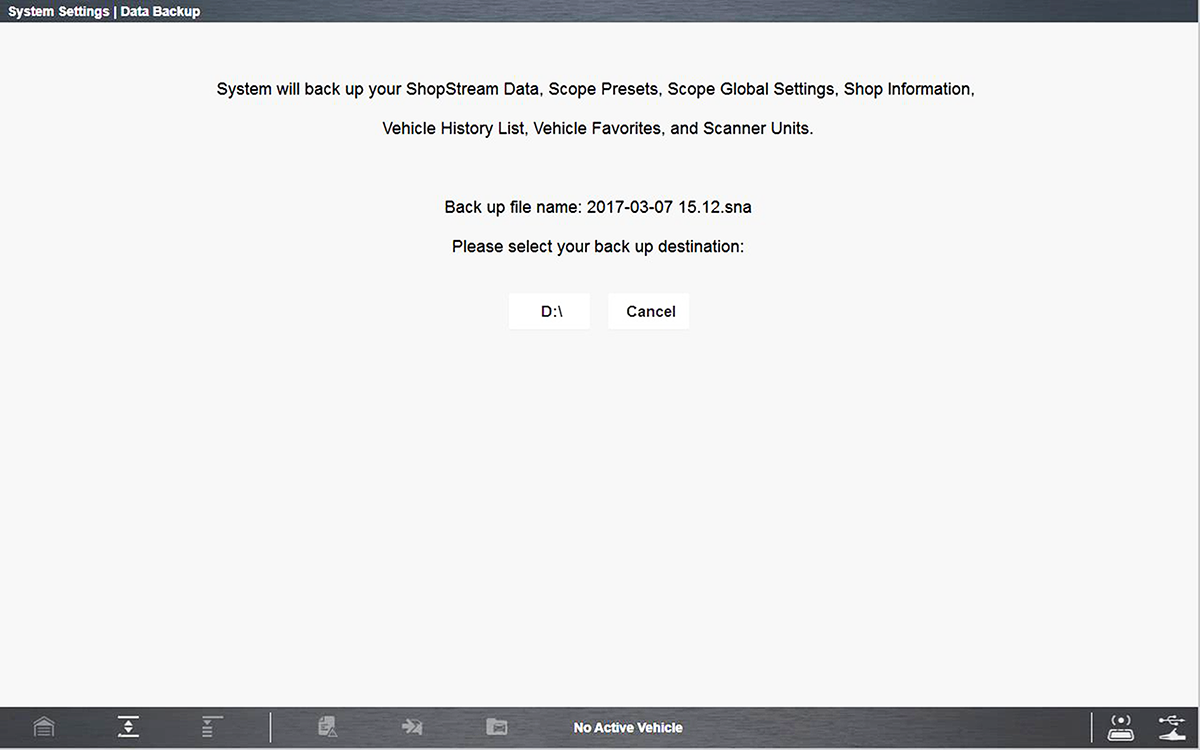
The destination drive dialog box opens.
| 3. | Select a drive destination. |
Drive designations (e.g. E:, F: etc.), are only visible when external drives are connected to the diagnostic tool.
A progress screen is displayed as the backup file is saved to the root of the drive selected with a file extension of .sna. Then a confirmation screen is displayed.
| 4. | Select OK to complete the procedure. |
Restore
Restore
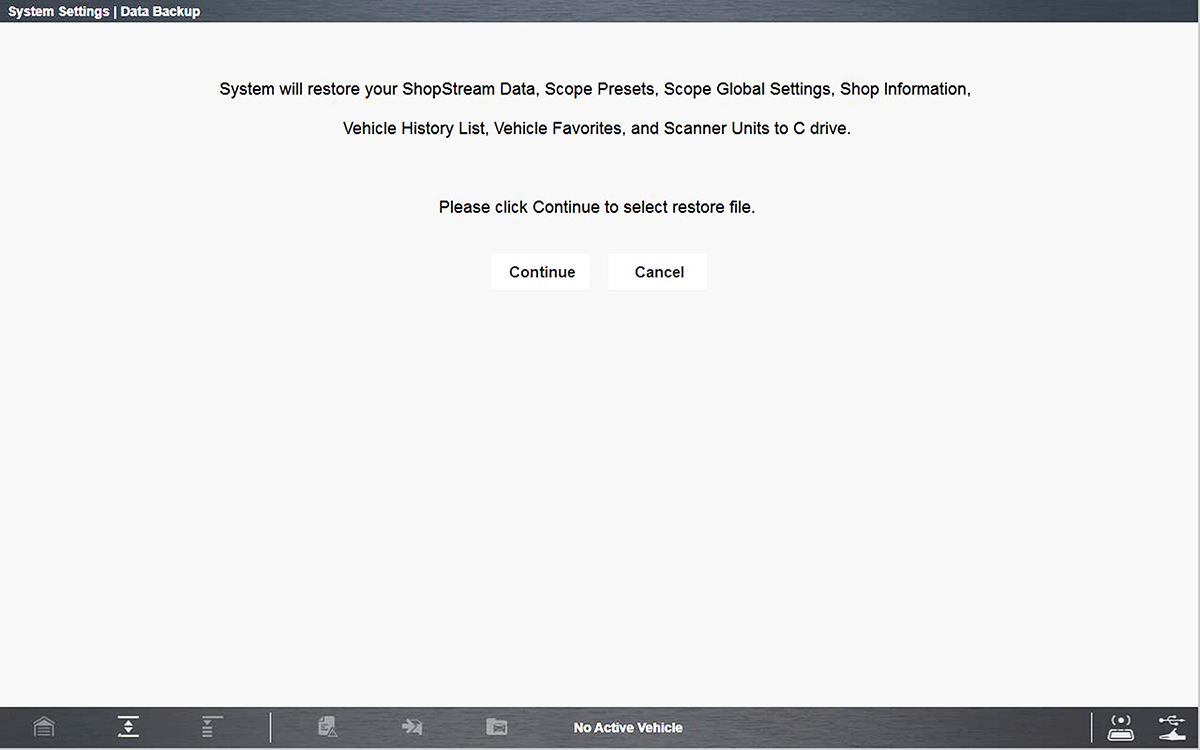
The Restore option is used to restore your backed up data, in the event that the data is lost or if a system restore (recovery) has been performed.
This function is only applicable when a backup file has been previously saved (file extension .sna). See Backup (above) for additional information.
| 1. | From the Home screen select System Settings. |
| 2. | From the System Settings main menu select Data Backup >Restore. |
The restore file confirmation dialog box opens .
| 3. | Select Continue. |
The Windows restore backup file path dialog box opens.
| 4. | Select the backup file (file extension .sna) from your backup file location. |
| 5. | Select Open to restore the backup file. |
Once the file has been restored a confirmation message is displayed.
| 6. | Select OK, then close and restart the Diagnostic Suite program. |
Code Scan (Timestamp)
Auto VIN
Other Related Settings / Controls
