What do we do after the repair is complete? Pull the vehicle out and grab another repair order, right? I am quite sure there are some folks that do exactly that. So, what should you do? The fact is, there should be a standard workflow for post repair, just like there is a workflow for the diagnostic path.
It starts with a bumper-to-bumper visual inspection. Customers always feel good knowing that a professional mechanic has looked everything over.
There are things that are nice for customer service that some might even find impressive, like a complimentary wash and vacuum. However, depending on the OEM, today’s vehicles require that a few other tasks be performed to avoid a comeback, which could cost you time and profit, and maybe even your customer.
It is vitally important to make sure the issue the customer brought the vehicle in for is completely resolved. To do this we must always validate the repair.
First, we need to find out if we need to reset or relearn anything based on what the repair was. Not doing this would likely result in a comeback.
A great example of needing to reset/relearn is cleaning or replacing the throttle body on a Nissan® (see below).

Times have changed since you could literally bend the throttle cable brackets to “reset” the throttle years ago. The vehicle’s computer handles that today.
I am using Nissan as an example here, but a learn or relearn after cleaning or replacing the throttle body is necessary on most vehicles.

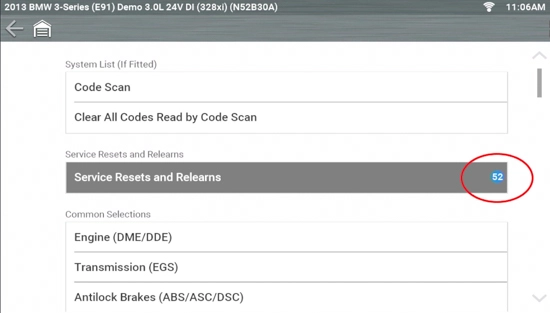
The challenge with this is knowing what reset/relearns might be required based on the repair and the VIN specific OEM, because there could be 50 or 60 or more to choose from. Snap-on® scan tools that have Fast-Track® Intelligent Diagnostics capability, filter it down to only the resets needed for the specific trouble code. If there isn’t a code and you are using either a ZEUS®, TRITON™, or an APOLLO™, you can select “Service Resets and Relearns” button and select whatever you need. Everything is in one place, so you don’t have to look in each module in the network. You can see below that the BMW® example in the image has 52 resets and relearns available.

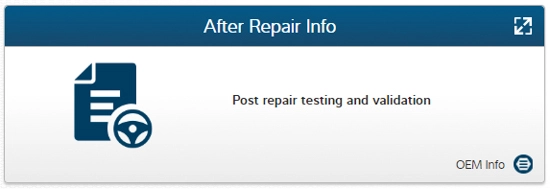
There may be a need for the reprograming of a module (re-flash,) after a repair. A repair information system like ShopKey® Pro or Snap-on Repair information will have that information under component remove/replacement, or after repair Information.

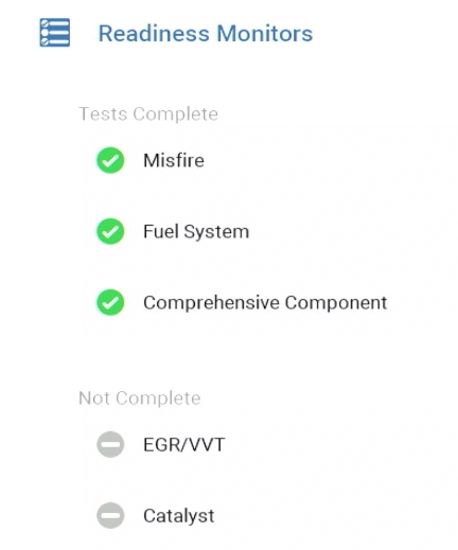
We are ready to clear all codes, then go for a test drive. We will refer to it as a “drive cycle” because when done correctly the vehicle’s computer will tell us if the problem is solved or not. OBD-ll has Readiness Monitors which I think of as simply a self-test of certain systems. Certain criteria needs to happen during the drive cycle in order for the self-tests to complete. It is worth the time to refer to your repair information system to know what is required for the component you replaced.
Here’s an example of this: Once the drive cycle is done, I will need to do a post-scan to make sure the code did not come back. Secondly, I need to make sure the self-test was complete. If the repair was to the fuel system and no code returned, I can rest assured that the repair was successful. If the repair was the EGR valve, I cannot be certain until I do the drive cycle as instructed. I would have saved a lot of time if I had looked up the drive cycle procedure prior to the drive. When the tests are complete, we have validated the repair.

Before the repair, I am sure you performed a pre-scan that would have checked all the modules in the network for trouble codes that will be stored in the Snap-on Cloud for review. The post-scan automatically goes to the cloud as well, so it’s easy to show the customer before and after repairs. On top of that, the diagnostic health scan will make a customer feel good just like the bumper-to-bumper visual check does.
After this successful post repair workflow, we are ready to return the vehicle to the customer.