To use the Scope module, it must be connected to the diagnostic tool using the supplied A/B type USB cable.
As general practice, the Scope Module should only be disconnected from the diagnostic tool when it is switched off. To prevent accidental loss of data, make it a practice to first save the current data if desired, then select either the Power Off or Back icon from the Scope Multimeter toolbar to stop meter operation.
Power Off saves the current settings, but does not save data.
To connect the Scope Module:
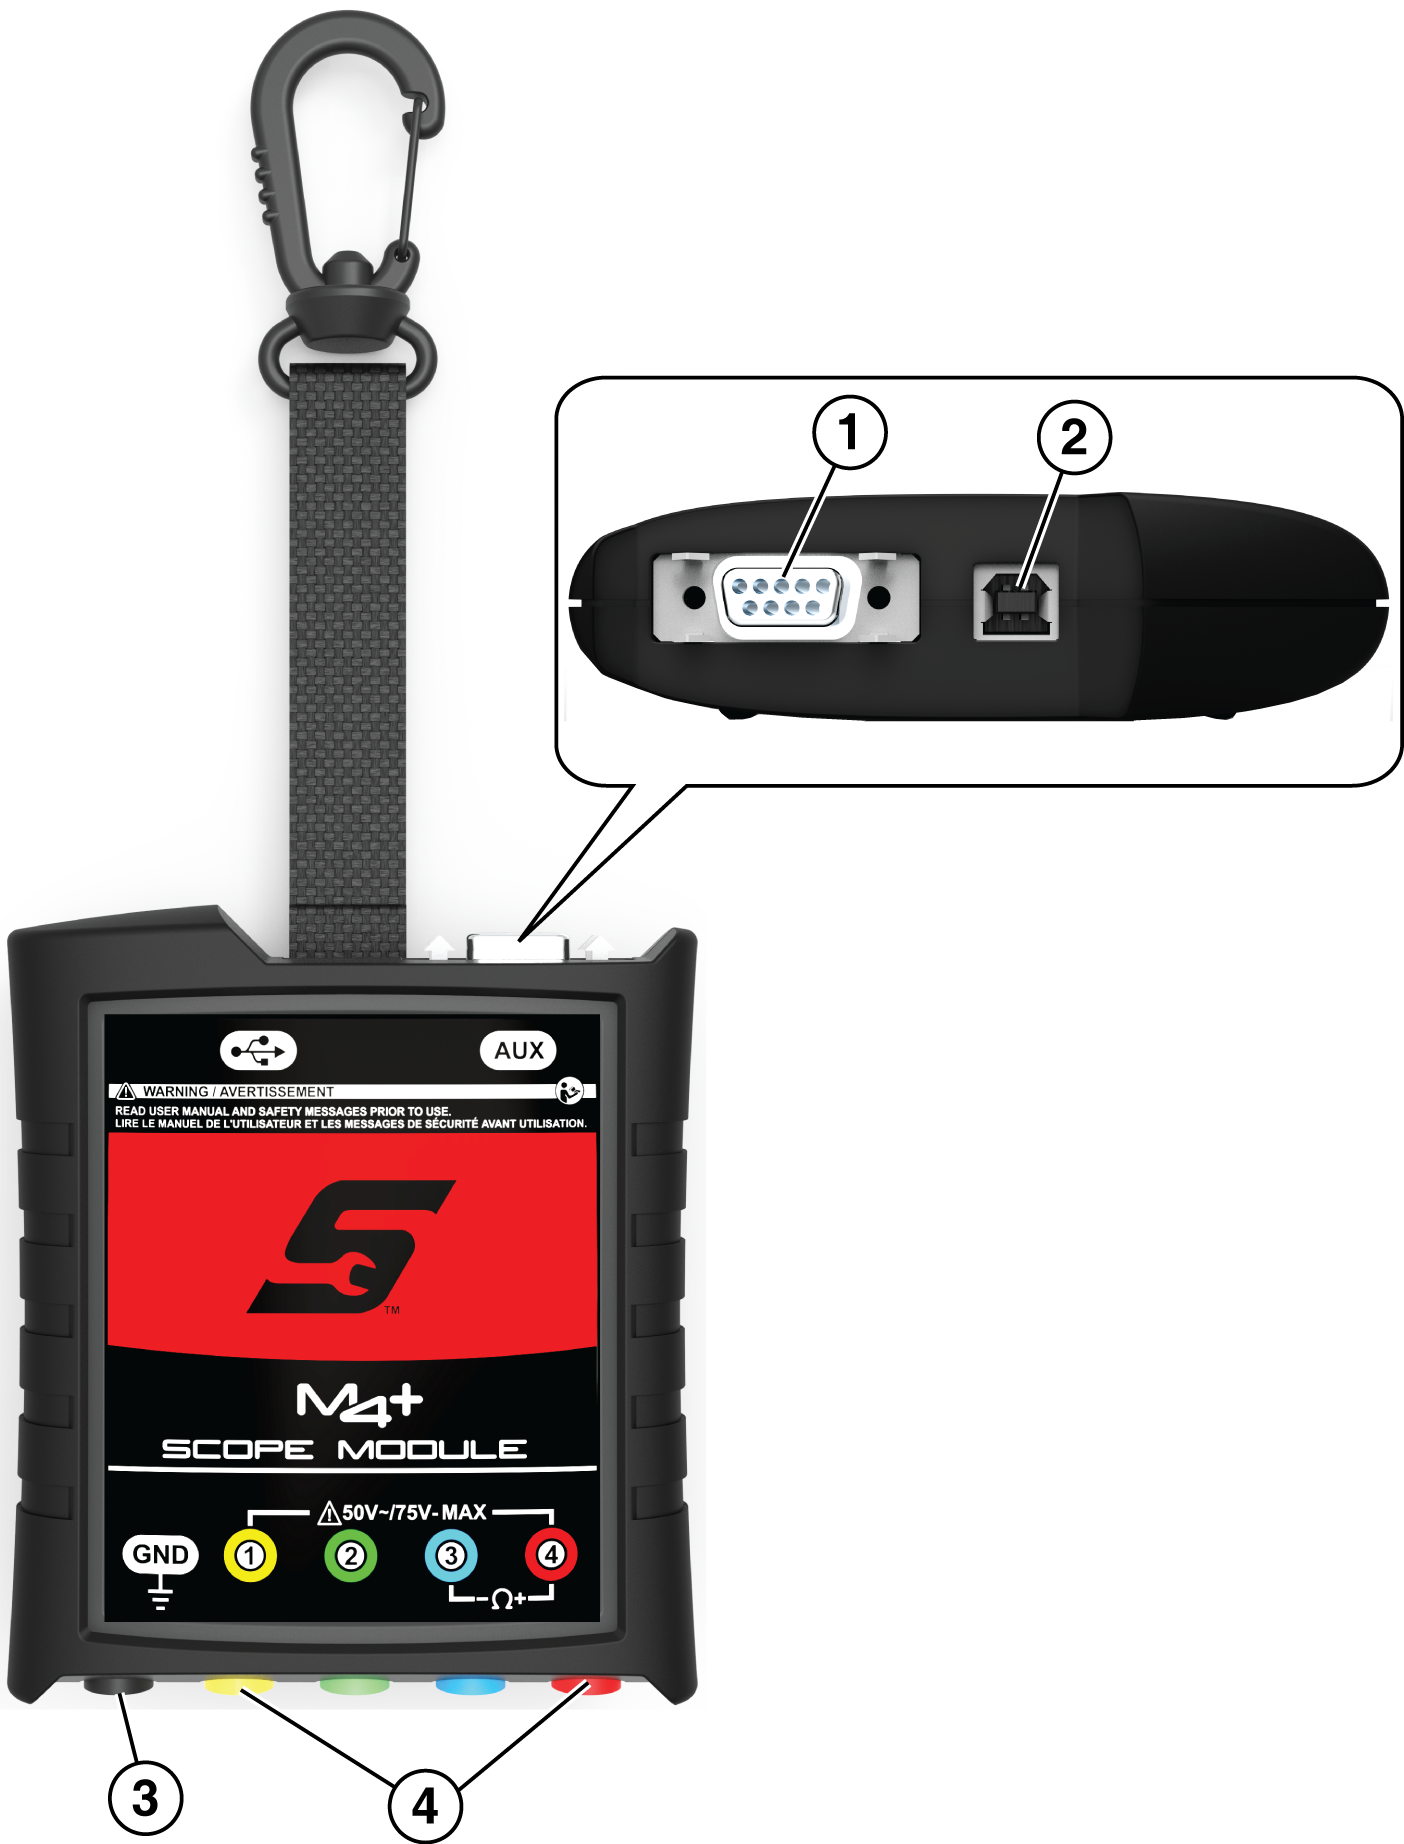
| 1. | Connect the square end of the USB cable to the USB jack (Figure No. 2 below) on the Scope Module. |
| 2. | Connect the rectangular end of the USB cable to a USB port on the diagnostic tool. |
If the Scope Module:
- Is disconnected from the diagnostic tool when it is on, or
- Is exposed to a electro static discharge (ESD) while it is being used remotely
the following will occur:
• Communication between the diagnostic tool and the Scope Module will be terminated.
• All current data and settings will be lost.
• An error message (e.g. Meter/Scope Not Found) will display to indicate that Scope Module communication has terminated.
When communication is reestablished (after a communication loss), the Scope Multimeter application is restarted and the Scope Multimeter main menu page is displayed.
| 1. | Auxiliary (DB9) Connector The auxiliary connector is used for connection of the optional RPM inductive pickup and the pressure transducer split lead adapter. For additional information contact your sales representative. |
| 2. | B Type USB Jack - Used to connect the scope module to the diagnostic tool using the supplied A/B type USB cable. |
| 3. | Common (Ground) Jack) |
| 4. | Channel Jacks 1 to 4 |
| 1. | Select the Scope Multimeter icon on the Home screen. |
Select one of the following options:
| - | Digital Multimeter (DMM) |
| - | Graphing Multimeter (GMM) |
| - | Lab Scope |
| - | Ignition Scope (Secondary Ignition Tests) |
| - | Presets |
A submenu of scope or meter configuration will display.
| 2. | Select a configuration to continue. |
The following topics in this section primarily describe the general setup and control operations for the Lab Scope and Graphing Multimeter functions. The Digital Multimeter is not covered as setup and operations are intuitive.
| 3. | For information on the Ignition Scope function, see Ignition Scope. |
| 4. | For information on the Presets function, see Presets. |
Standard “safety type” test lead jacks are located on the top of the diagnostic tool, and are compatible with many test leads and probes. Insert the applicable test lead or probe terminal end into the jack to compete the connection.
For information on test leads, see Test Leads and Accessories.
To avoid damaging test leads, do not pull on the wire when removing the leads from their jacks. Pull only on the lead terminal end.
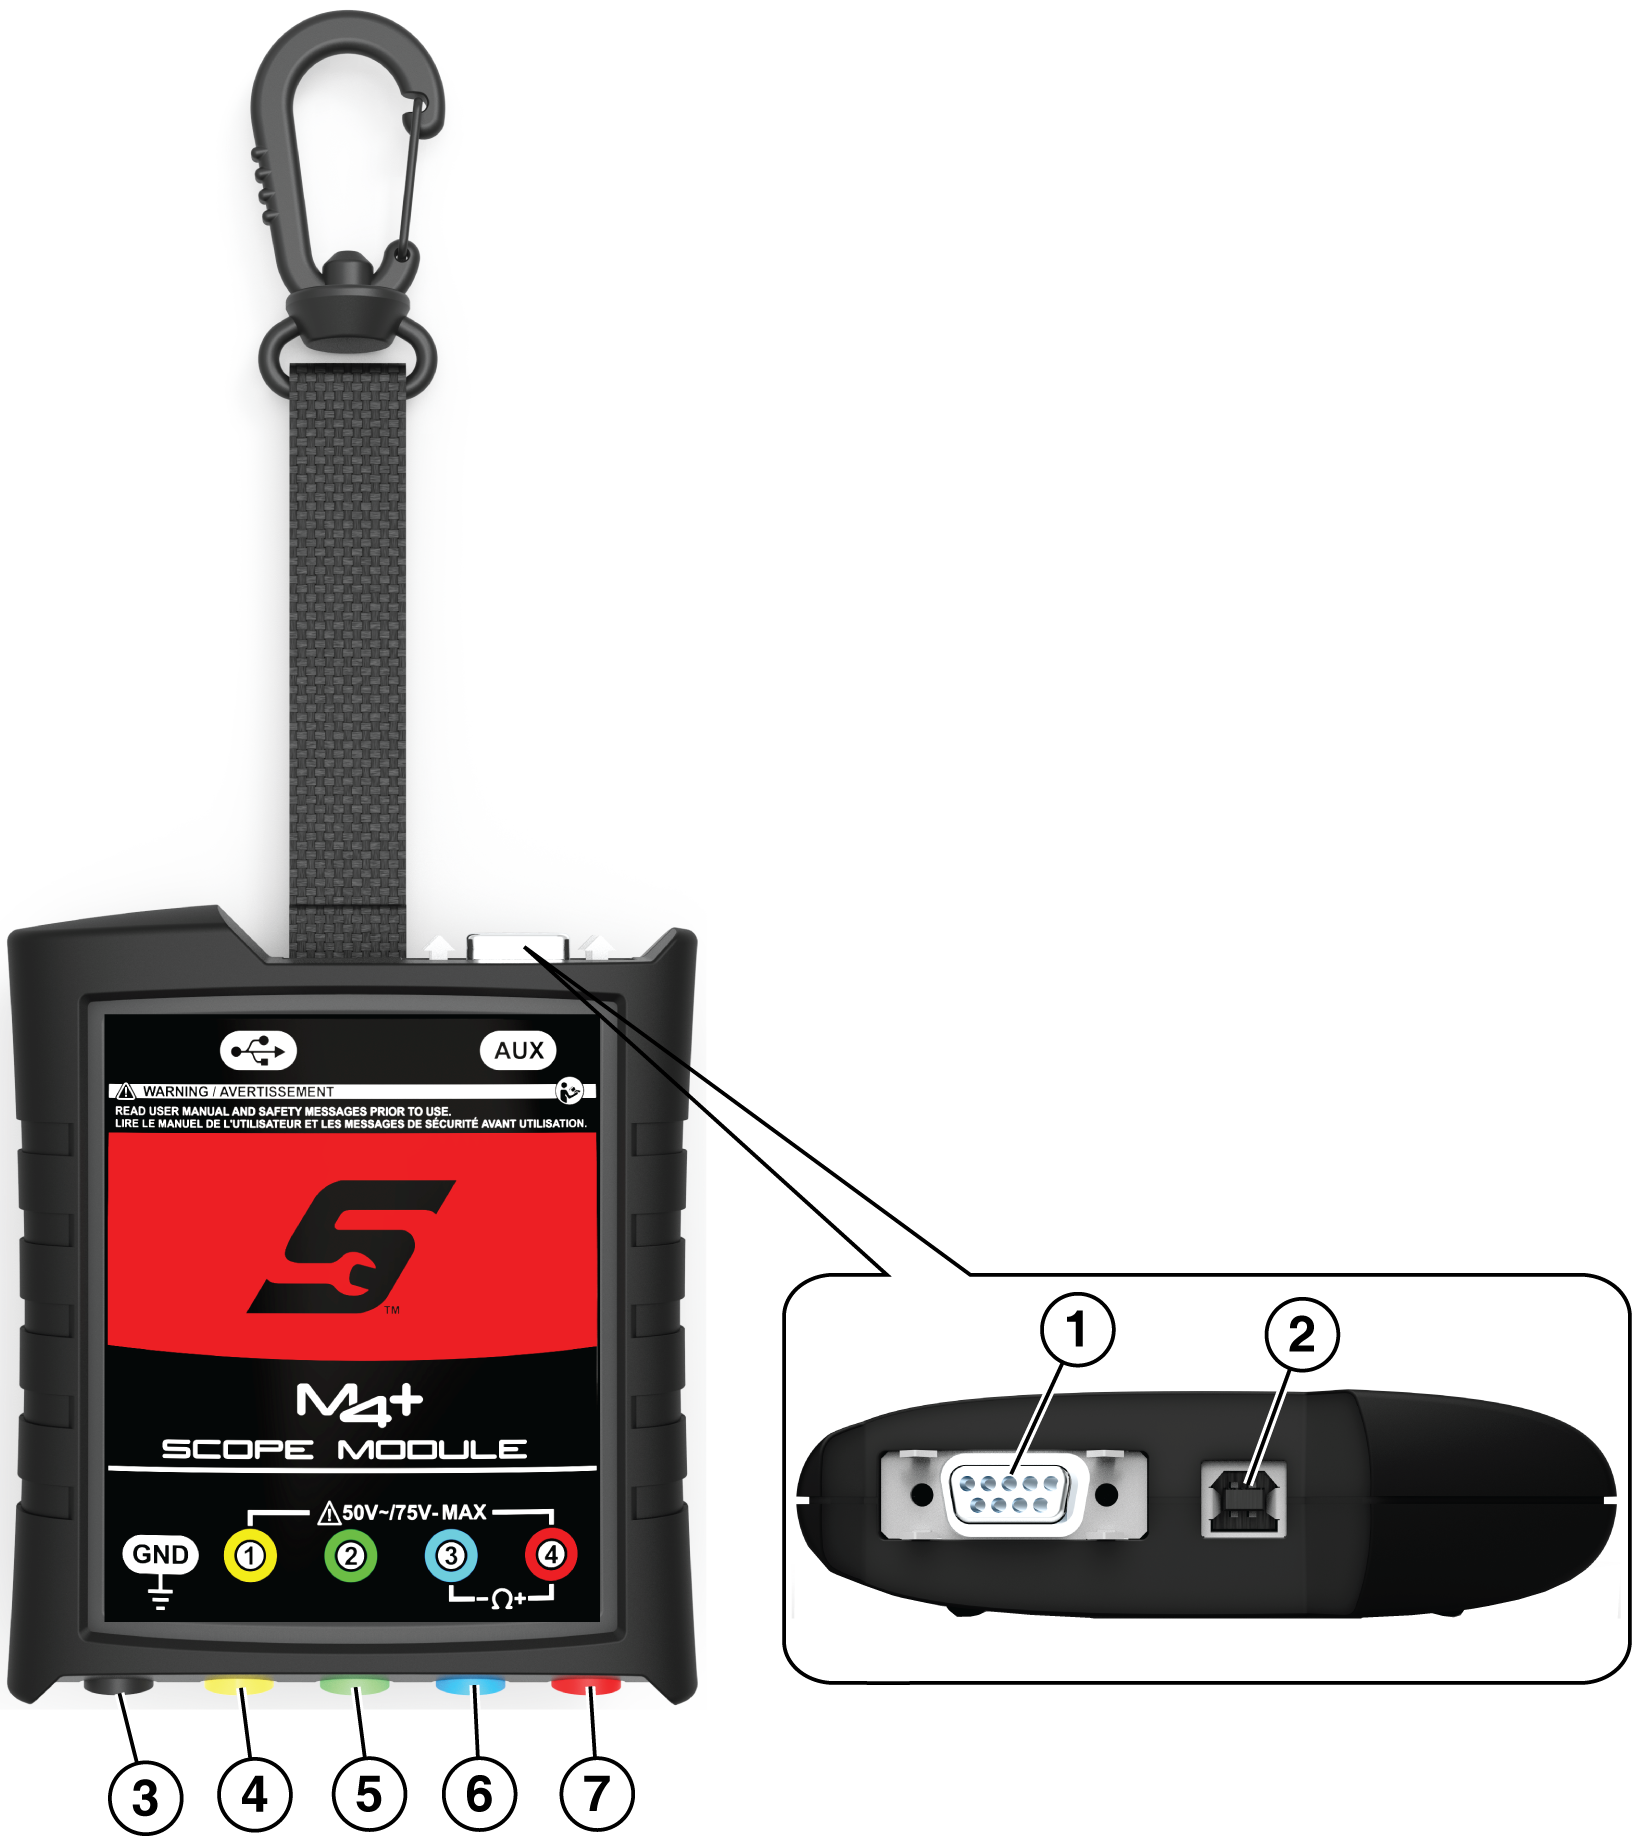
| 1. | Auxiliary (DB9) Connector The auxiliary connector is used for connection of the optional RPM inductive pickup and the pressure transducer split lead adapter. For additional information contact your sales representative and see, Connecting the Scope Module to the Diagnostic Tool on page 108. |
| 2. | B Type USB Jack - Used to connect the scope module to the diagnostic tool using the supplied A/B type USB cable. |
| 3. | Common (Ground) Jack |
| 4. | Channel 1 Jack |
| 5. | Channel 2 Jack |
| 6. | Channel 3 Jack |
| 7. | Channel 4 Jack |
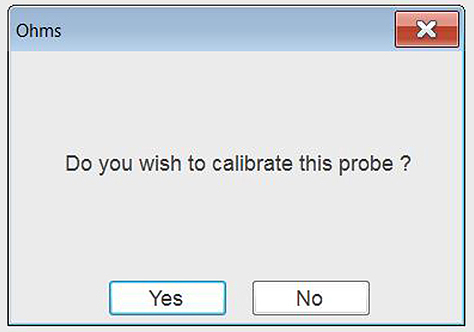
Certain tests may display a confirmation prompt asking “Do you wish to calibrate this probe?” before continuing with the test. As general practice, it is important to ensure the test probe is calibrated before testing, to ensure accurate results.
Typical resistance, pressure, and vacuum tests will display the calibration message, reminding you to calibrate the probe. To perform the probe calibration, select Yes at the prompt and continue to follow the onscreen instructions to complete the calibration.
Probe calibration confirmation
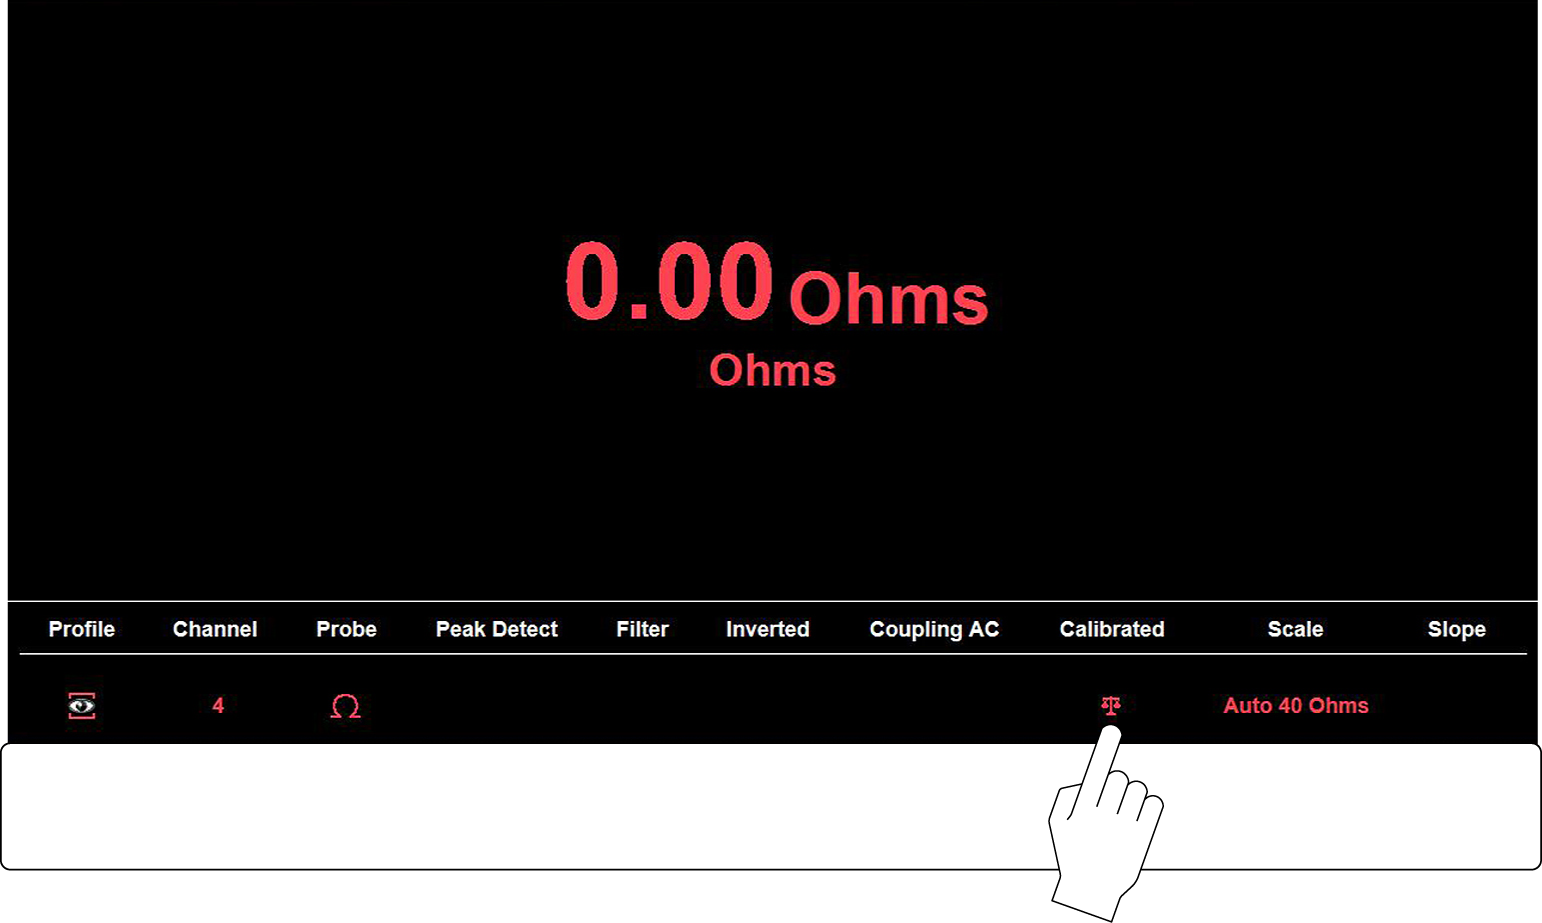
Example:For the ohms (resistance) calibration process, once completed, zero ohms should be displayed when the leads are connected together. When the leads are separated, the upward arrows on the display indicate infinite resistance or an open circuit.
Typical Ohms “zeroed” calibration screen and calibration icon
During an ohms test or a pressure test, a manual probe recalibration can be initiated by selecting the Calibration icon from the Control Panel.
|
Icon |
|
|
|
Calibrated - graphic of a balance scale |
|
|
Not Calibrated - graphic of a balance scale with an “X” through it |


