Discover a new technique included in the latest Snap-on diagnostic software upgrade designed to make your life easier when it comes to coding vehicle headlamps.
Slight variations in the LED manufacturing process, particularly in regards to lumens, colour temperature and LED voltage, mean that individual LEDs are extremely difficult to make exactly alike.
LEDs tend to be similar but rarely exact. In order for a light to be, say, red, manufacturers need a technique called Binning to ensure all of their LEDs are indeed red.
Coverage for Binning on Mercedes-Benz vehicles has been added in the most recent Snap-on diagnostic software update.
This article covers the topic in more depth.
***
The process of Binning is matching the LEDs in the new headlamp to the existing module(s) on the vehicle.
Generally, when a headlamp is damaged the module(s) are still useable and can be swapped on to the new headlamp, meaning the Binning process can be carried out.
If the module(s) are damaged then they will have to be SCN-coded online at a Mercedes-Benz dealer prior to the LED Binning being carried out.
The code(s) that we read from the headlamp prior to coding assign the power (A) and the duty cycle (PWM) that each LED channel must use.
These codes are supplied by the manufacturer of the headlamp and are defined according to the BINs that they fall into.
Depending on the LED light you have fitted to the vehicle you may have a different amount of LED channels and controllers.
Here are some examples in Mercedes-Benz vehicles:
Static Variants
Static LED headlamp HLI222 - no movement with turning of steering.
| LED Channel 1 |
Turn Signal |
| LED Channel 2 |
Parking/Daytime Running |
| LED Channel 3 |
High Beam |
| LED Channel 4 |
Low Beam |
| LED Channel 5 |
Not Used |
| LED Channel 6 |
Not Used |
Static LED headlamp HLI253 - no movement with turning of steering.
| LED Channel 1 |
High Beam |
| LED Channel 2 |
Parking/Daytime Running (Inner) |
| LED Channel 3 |
Parking/Daytime Running (Outer) |
| LED Channel 4 |
Turn Signal |
| LED Channel 5 |
Low Beam (Short Range) |
| LED Channel 6 |
Not Used |
Dynamic Variants
Dynamic LED headlamp HLI222 - movement with turning of steering and the addition of an LCU (Actuation Module).
| LED Channel 1 |
Ambient |
| LED Channel 2 |
Turn Signal |
| LED Channel 3 |
Not Used |
| LED Channel 4 |
Cornering Illumination |
| LED Channel 5 |
Parking/Daytime Running |
| LED Channel 6 |
Not Used |
- LCU controller - three LED channels
| LCU LED Channel 1 |
Low Beam (Short Range) |
| LCU LED Channel 2 |
Low Beam (Long Range) |
| LCU LED Channel 3 |
High Beam |
Multibeam Variant
Dynamic on a HLI253 headlamp is multibeam, so instead of an LCU module we have another module that controls each of the 84 individual LEDs.
| LED Channel 1 |
Turn Signal |
| LED Channel 2 |
Parking/Daytime Running |
| LED Channel 3 |
Low Beams (Long and Short Range) |
| LED Channel 4 |
Cornering Illumination |
| LED Channel 5 |
Not Used |
| LED Channel 6 |
Not Used |
| Channel 1 |
Low Beam |
| Channel 2 |
Low Beam |
| Channel 3 |
High Beam (Adaptive) |
Reading the data matrix code from the headlamp
Depending on the model and headlamp fitted to the vehicle, it may or may not be possible to see the data matrix codes on the headlamp without removing it.
Again, depending on the variant, you may have a single data matrix code or multiple codes. Here we have the main data matrix code and an LED C code on an example of a static variant.
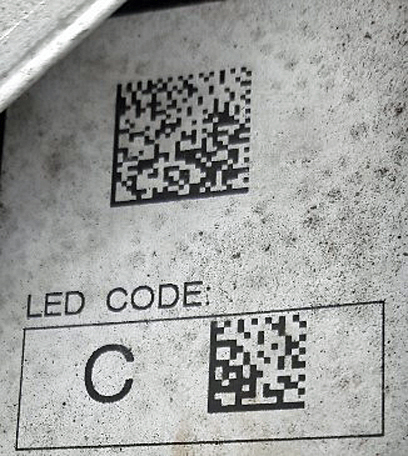
A QR code reader app on a mobile phone will let you read the graphic and retrieve the data. This is what you would see for this particular example:
HLI4Ch63200Ch36400Ch200C0Ch12100CS59A0000000000000000000
LED C Code:
C05A94CS8A
Programming - Static
When we communicate with the vehicle we query the gateway to determine what types of headlights are fitted.
Depending on this, the software in Snap-on diagnostic tools enables different functionality. The user is asked to confirm this. If they disagree, the software enables ALL modules and functionality.
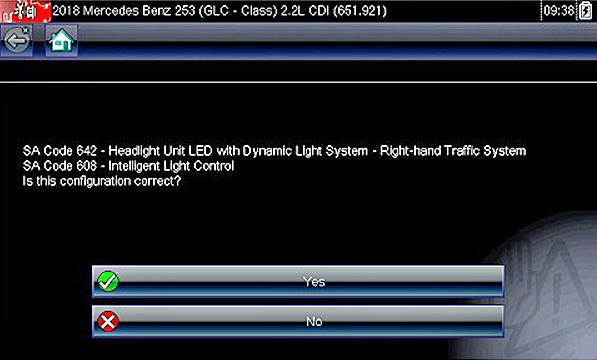
Depending on the configuration, the user input of the data matrix code is made easier.
The software pre-fills the interface and only displays the applicable channels. For example, for a static four-channel LED headlight it only displays the four channels that are meaningful.
There is no need to enter the complete code as only certain parts of it are required for the Binning function.
To navigate to the programming menu once communication is established, go into Functional Tests>Special Functions>Adaptation.

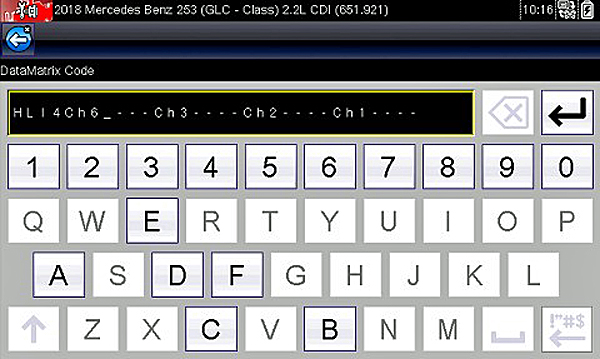
HLI4Ch63200Ch36400Ch200C0Ch12100CS59A0000000000000000000.
In this particular case the user has only to enter the values in red as the rest of the string is already predefined.
Once this has been entered they may be asked to enter a second code, which will be in the format of an LED C code or LED B code depending on the variant.
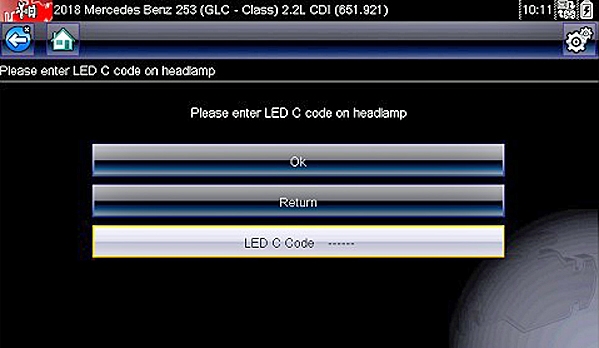
Once programming completes successfully the lamp will perform a self-test and all the LED channels will light up for 60 seconds.
This will give the user a chance to see if all of the channels have programmed correctly.
It should also introduce faults if there is an issue with a particular channel.
Programming - Dynamic
Two data matrix codes on a headlamp

Here is an example of a dynamic data matrix code.
This vehicle has a separate actuation module and we can see that by the addition of LCU Binning at the end of the string.
Again, you will be presented with a template to enter the code. The only values required are those in red.
HLI6Ch60E00Ch500C0Ch46400Ch30000Ch21988Ch10E79CS75LCU3Ch37800Ch27800Ch16400CS2AA00000000000000000000
C Code: C05A94CS8A

The Actuation module is coded separate to the headlamp itself and once both have been coded correctly it will perform a self-test of all the LEDs of both the headlamp and actuation module.
Programming - Multibeam (Matrix)
Single data matrix code only
On a multibeam we still have a six-channel headlamp to code but we also have the 84 LEDs to code in the matrix module.
The first coding screen will be very similar to what we have with the static and dynamic variants. Example of data matrix code below:
HLI6Ch60757Ch56400Ch44600Ch35890Ch25890Ch10720CSF0PXL964F064F02C2C28283232265151585E62747354505D575C5D5C594F4B524C6465657067595F76716B6C666464674C474D484D4A4847484C474A62626474775C636F5E5F5B5F646961676C6767615C666863635F5C5C5A6E655B4F524E4E504BCSBBA2139066604Q02ZGS0002
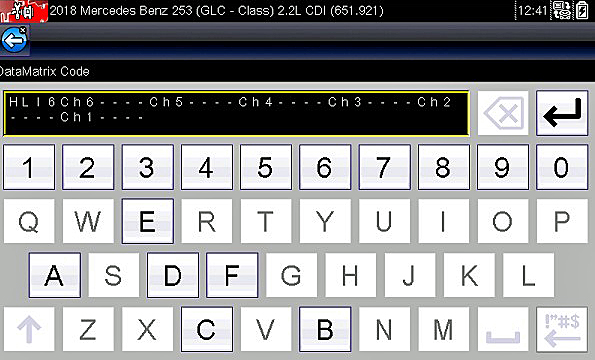
Once we have the headlamp coded we can move on to the Matrix module.
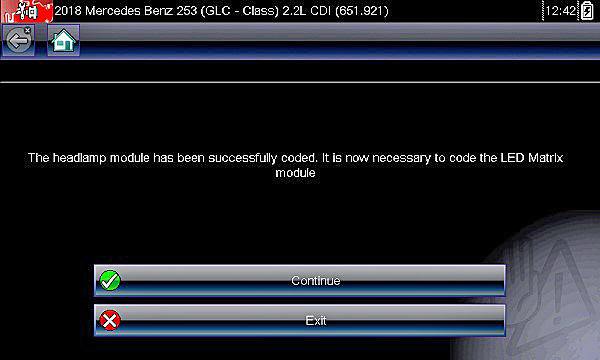
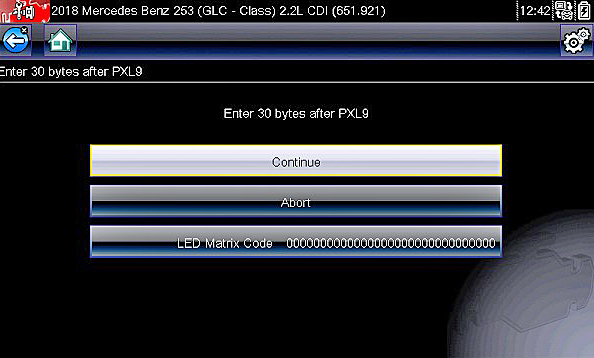
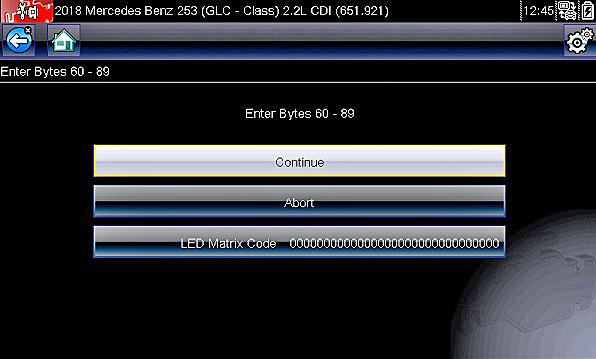
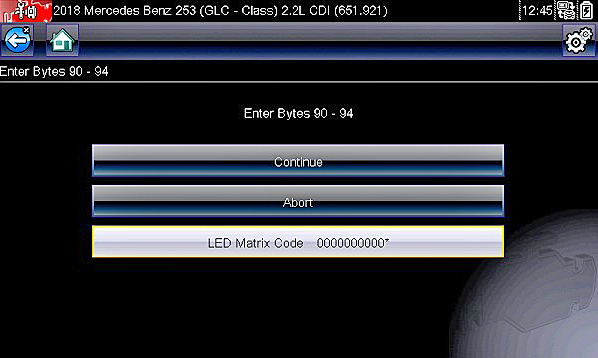
As we have 96 bytes of information to input via a keypad this can be a tedious operation.
The process within Snap-on software is broken up into four screens to keep things cleaner when entering data.

Recovery
In the unlikely event that something may go wrong with the coding of the headlamp the user will automatically be able to restore the headlamp and or LCU/Matrix module with the original coding.
When the coding is performed the original coding is automatically stored away of on the scan tool. This will be accessible via the adaptation menu.
Please note that the options to restore are conditionally enabled so if the vehicle doesn’t support and LCU you will NOT have the option to select ‘Restore Actuation Module LCU LED Coding’.
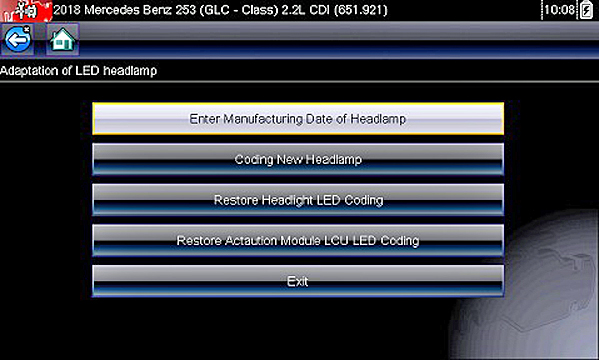
This also applies to the Multibeam when restoring.
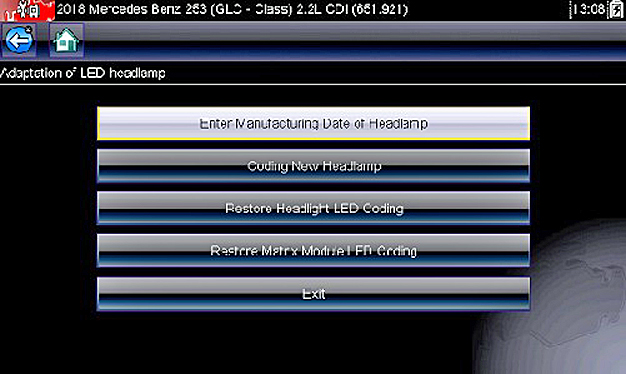
Static
Dynamic
- Recover Headlamp and LCU Module
Multibeam
- Recover Headlamp and Matrix Module
ATLAS Platforms
To help users of ATLAS-based platforms understand which parts of the data matrix code are required, additional messages have been added to the coding process.

Each message will show a different example depending on the type fitted.
On ATLAS platforms the user only has to input the values in red from the data matrix code read from the headlamp fitted to the vehicle.
Date posted: 19 November 2019